 |
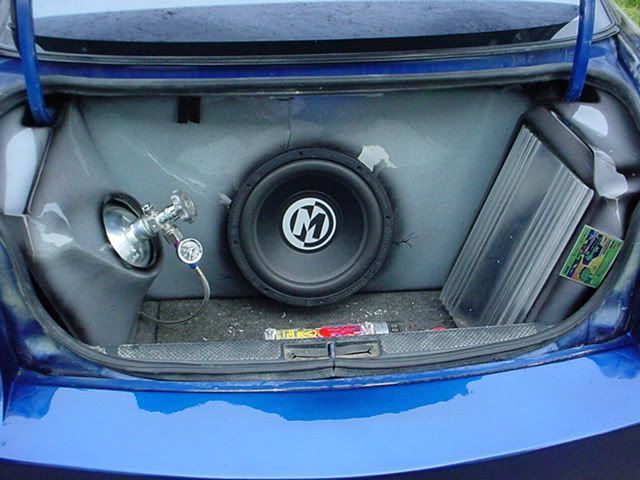
| This is what I started out with three diff pieces |
You will need a few tools and supplies here is a list (all of these things can be bought at a auto paint store.. you may even be able to find them at Wal-Mart )
- dust mask
- sandpaper ( 40, 80,180/220 grit )
- fiberglass resin ( one to two gallons )
- some kinda thick mat like a fleece blanket works best
- Bondo/body filler
- paint brush
- stapler
- painters tape
- super glue
- some kind of sander helps (DA is the best i think)
- thick rubber gloves
- You will need some kind of support made out of wood for you to staple your mat to. So take you time and make your support into the shape you want your trunk to look like. You also Need to make a Sub Ring out of strong wood like MDF ... I already had mine made once so i have no pics of that part..
- Once you have the support made then its time to pre fit your piece of fleece make sure that it is bigger than you trunk. Ok now on the pinch weld use your painters tape to cover all of it. then press the mat to the bottom of trunk and staple it in and anywhere you have a sharp bend in the mat . Now on the pinch weld remember the tape you put on there this is were it comes into play. You need to put a blob of super glue ever 1 to 2 inches apart on the tape and pull the mat tight over it as you go. Let the glue set up until it holds the mat. ( if you want this removable you will need to put a layer of plastic under the mat up to the tape)
- Once all the glue has dried and you have made sure that all the mat is tight ever where. Now it is time to put on your gloves and open your fiberglass resin. you will need some thing to mix it in an old milk jug will work after you cut the top off . read on the can to see what the mixing ratio is for the hardener and resin ... Now this stuff sets in like 30 mins so don't mix untill ready to use it..
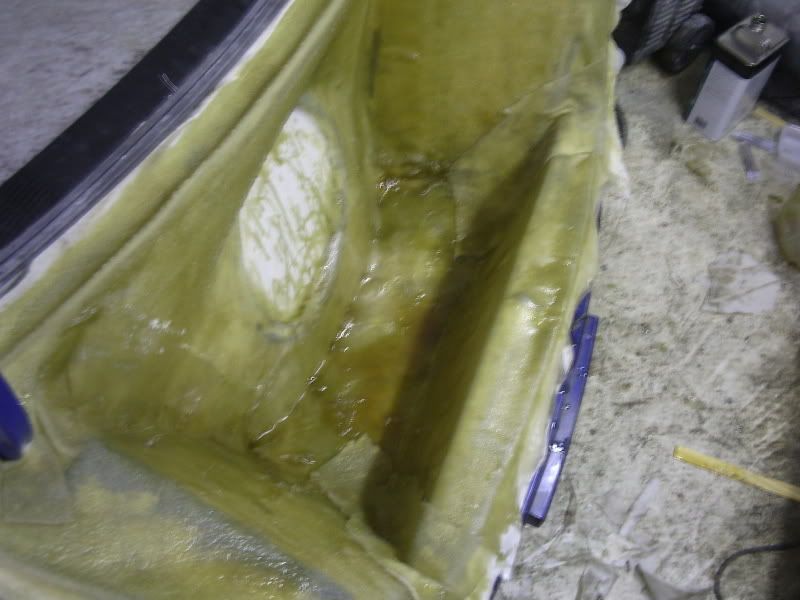
- Get you paint brush and the mixed resin and start to to soak down the mat . Make sure the mat is soaked all the way .. if you need to add some more mat to corners for strength now is the time. let that dry and it should look like the pic below.
- Once all that has dried over 12 hours then it times to sand use your sander and some 40 grit to ruff up all the mat and resin. now would be a good time to trim off anything you need to . go around the top edge of the pinch weld and take it all down to metal that should remove all the unwanted mat that is past the pinch weld
 | ||
| Ok First off i am not the best at typing so bare with me. |
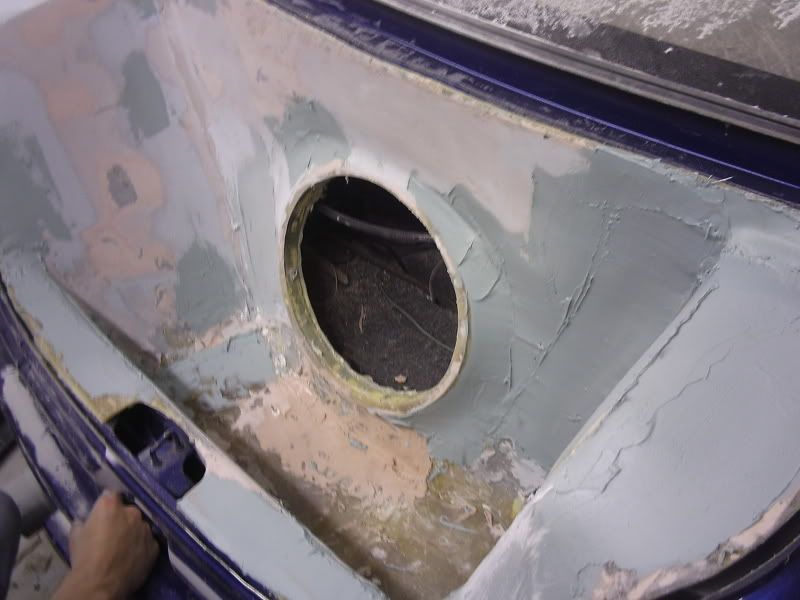 |
| This is the body filler stage |
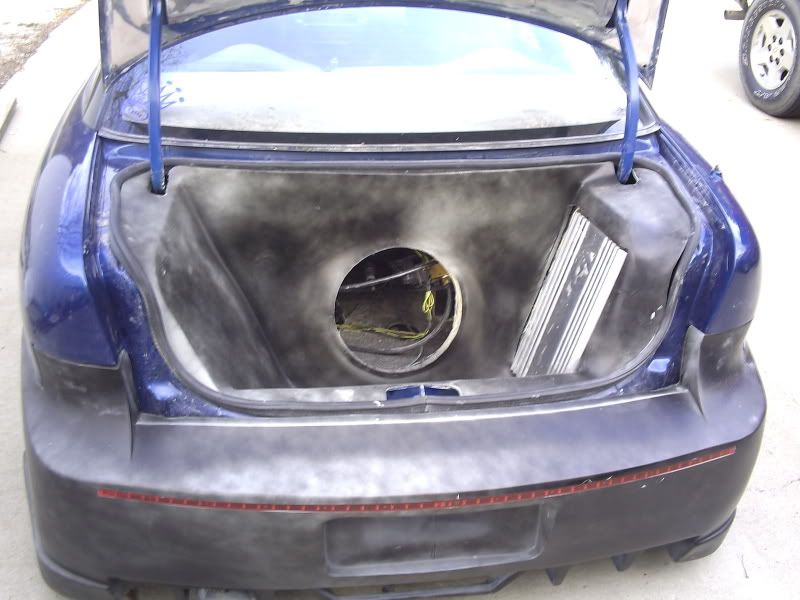 |
| This After Primer and some black dust coat |
No comments:
Post a Comment